MapleStory might seem like an easy to understand game, press keys and kill monsters, but the game gets a lot more complicated when you’re trying to raise your range and max out your damage. This guide is for beginners but may also contain information that advanced players might not know so, give it a look through!
If you’re a beginner in MapleStory the most important things to know are, How To Travel, Links, Legion, Gear Progression, and Meso Farming.
What To Know About MapleStory
Before you get into MapleStory there are some things you need to know. If you are playing Reboot the most important thing is Meso Farming. Because you can’t sell or trade in Reboot you are going to have to obtain your own Mesos. This means you must make a character that you can farm easily on. Check out this Meso Guide for absolutely everything you need to know about obtaining more Mesos.
Another thing you need to know is that you will spend a ton of time playing characters that are not your main one. This might seem weird but because of stuff like Legion and Link Skills, the benefits of making other characters are too large.
Lastly, I want to say don’t rush the game! MapleStory should be seen as a long term marathon type of game other than a quick sprint game like League of Legends. There are a ton of Events all the time that will help you level insanely fast (Tera Burning) and help you gain more range. (Starforce and Double Miracle Time events)
*This guide will tell you everything you need to know about the most optimal way to play and progress so check out each section!
What MapleStory Characters To Make First?
When starting MapleStory you might think the first character you level up and invest in should be your Main. This is not true. I do believe you should make your main and find out what you want to be your main, but you need to make Mercedes, Aran, and Evan before you progress further. Trust me when I say between the two options of making your main first or making these links first, you have to make the links.
Making those 3 characters first will allow you to progress so much faster once they are done because their links decrease training time.
What Are Links Skills?

Link skills are the benefit of making more characters on your account. Located in your Beginner Tab in Skills you have Link Manager. When a character reaches level 70 they can now give a buff to another character. This is a link to all the characters’ link skills. There are also Link Skill levels, with level 3 being the max, and the higher the level the better the buff.
Link Skill Levels
Some Links do not have a level 3 so you do not need to get all your links to level 210.
Link Skill Level 1 – Character Level 70
Link Skill Level 2 – Character Level 120
Link Skill Level 3 – Character Level 210
Which Links Skills Are Best For Training?
Ideally you want to make all of these characters before choosing your main because of how beneficial they are and how they will exponentially decrease the time it takes to make another link.
Links can only be moved 2 times a day. So that means if you want to train your mules with links, you can only do 2 a day.
| Description | Link Skill Level 1 | Link Skill Level 2 | Link Skill Level 3 | |
| Elven Blessing | Monster EXP +10% permanently Can teleport to Elluel with a cooldown time of 10 minutes. | Monster EXP +15% permanently Can teleport to Elluel with a cooldown time of 10 minutes | Monster EXP +20% permanently Can teleport to Elluel with a cooldown time of 10 minutes. | |
Aran | Combo Advantage | Combo Kill Orb EXP +400% | Combo Kill Orb EXP +650% | Combo Kill Orb EXP +900% |
Evan | Rune Persistence | Rune Buff Duration +30% | Rune Buff Duration +50% | Rune Buff Duration +70% |
Another important factor going into Training is, if you can One-Shot the mobs or not. It makes a huge difference if you can so in order to get more damage these Links are also useful.
| Description | Link Skill Level 1 | Link Skill Level 2 | Link Skill Level 3 | |
Kanna | Elementalism | Permanent Damage Increase: 5% | Permanent Damage Increase: 10% | |
| Wild Rage | Damage: +5% | Damage: +10% | Damage: +15% | |
Ark | Solus | Activates when the combat state continues for 5 sec Can be stacked a max of 5 times Duration: 5 secWhen activated, damage increases by 1%, and damage increases an extra 1% per stack | Activates when the combat state continues for 5 sec Can be stacked a max of 5 times Duration: 5 secWhen activated, damage increases by 1%, and damage increases an extra 2% per stack | Activates when the combat state continues for 5 sec Can be stacked a max of 5 times Duration: 5 secWhen activated, damage increases by 1%, and damage increases an extra 3% per stack |
| Bravado | Enemy DEF Ignored: +5%, Damage: +9% against enemies with 100% HP | Enemy DEF Ignored: +10%, Damage: +14% against enemies with 100% HP | ||
Illium | Tide of Battle | Activated when moving a certain distance Max number of stacks: 6 times, Duration: 5 sec, Damage per stack: +1% | Activated when moving a certain distance Max number of stacks: 6 times, Duration: 5 sec, Damage per stack: +2% | |
| Unfair Advantage | Attacks against weaker opponents deal +3% damage Attacks against monsters afflicted by Abnormal Statuses deal +3% damage | Attacks against weaker opponents deal +6% damage Attacks against monsters afflicted by Abnormal Statuses deal +6% damage. |
If you make all these characters you’ll get a feel of the game and who you like and that’s when you move on to creating a main!
Choosing A Main Character

A main character should be the character you like and want to play the most. Forget about DPM and DPS charts because enjoyability is more important. Also, characters have different uses like some can be great at Bossing while others can be great at farming and mobbing.
Keep in mind that this is a single player game and since you won’t be competing with others … it is kind of dumb to make a character you dislike and invest heavily in them just because of some charts say they are the best.
The top of the DPM Charts are ever changing but at the time of writing the top are Adele, Cadena, Blaster, Kanna, Hoyoung. If you want any of these to be your main, you are in luck!
If you’re wondering why you need to establish a Main, it has to deal with Legion and how that works.
Now that you know what characters to make and which order to make them in, you have to know how to train them all to 120 or 210!
Where Do I Train And Level?
If you’re starting during a Burning Event, you should find a character that is hard to train and has a good link. If I were starting again I would make an Evan or Mercedes my Burning character. Aran’s are very strong and easier to train so I would try to level that up myself.
When it comes to the training maps, I like to follow either this guide or this guide.
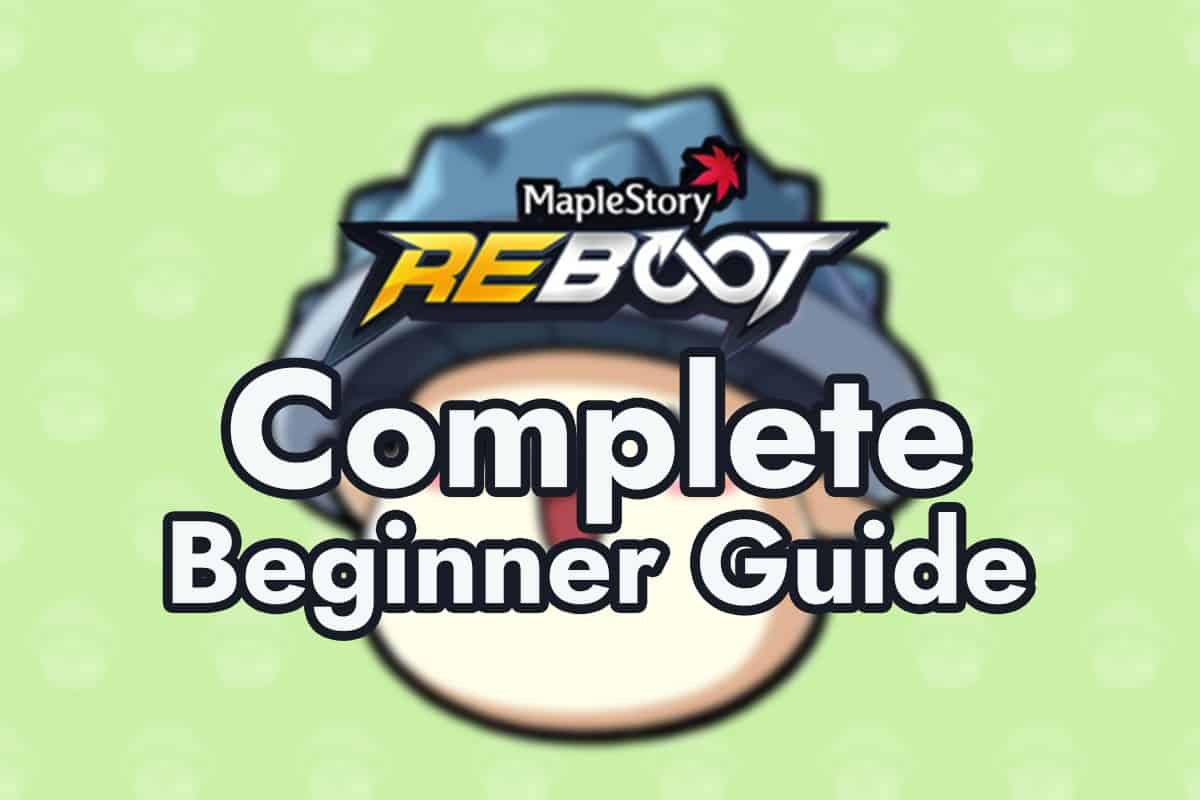
Once you hit level 100, get your 4th job, activate your rune and go to Normal Zakum. This will get you about 4 levels once you clear it and with 4th job it should be easy.
Don’t forget to take advantage of the Legion Shop as well. They have a Growth Potion starting at level 100 which gives you half a level and an EXP boost for 30 mins.
If you’re not feeling a certain class and deem it necessary, what you can do is get it a place where you can do Normal Zakum and Normal/Chaos Horntail daily. Then all you have to do is log on and do these bosses and then log off. They each give a ton of EXP and you can spend your time doing something else you like.
If you’re just starting out you should train your Mercedes, Aran, and Evan to level 70 first. Aran and Mercedes Link Skills work extremely well at lower levels so after you get those 3 to level 70 you should move them to 120. The most optimal thing to do next is to pretend each of these are your mains and get them to 210 but, in terms of enjoyability this probably isn’t the best option for you.
Keeping these 3 characters at 120 is also fine and moving on to other Links or characters will keep you sane!
How To Travel Without A Hyper Teleport Rock

If you’re just starting the game you might not have enough funds to buy a Hyper Teleport Rock. The best way to travel without one is to use the Maple Guide and Dimensional Mirror. For Maple Guide if you collect the stamp of an area you will be able to go to that place regardless of level, so it is worth it if you frequent a place a lot to collect their stamp. (usually involves killing monsters)

If you’re using the Dimensional Mirror you can go to FriendStory and then exit for the portal to be put into Henesys. Then from there you go to Six Path Crossway and Pantheon to access a portal that can take you anywhere.

The best option is honestly to kill monsters till you can buy a Hyper Teleport Rock or wait for your Daily Gift because Hyper Teleport Rocks make everything so much easier.
What is Legion?
![[IMG]](https://thedigitalcrowns.com/wp-content/uploads/2020/07/img_5f1317f8ce1ad.jpg)
Legion can be a little complicated if you’re just getting started but, essentially it is just another place where you get extra stats for having multiple characters. Similar to Links but different in the way that you can customize and choose what you want. Legion will be heavily based on the character you’re using and your mains.
The problem most people run into is how to set up your Legion and how to raise your Legion Rank. All will be explained in this comprehensive guide!
What Gear/Equips Should You Aim For And Use?
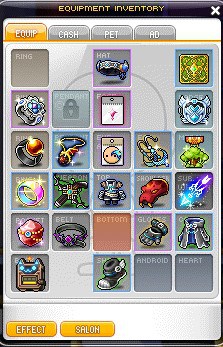
One of the most important things in MapleStory are your Equips! The game does a good job of dropping early game gear and helping you progress easily. The problem comes when you get to higher levels like 160-170. Normal Monsters and Mobs will only drop up to level 140 gear which is Pensalir Gear. Pensalir Gear will include a Hat, Cape, Overall,Weapon, Shoes, and Gloves which can all drop from mobs in the range of level 140.
Other Beginner Gear will include Horntail Necklace, Silver Blossom Ring, Aquatic Letter Eye Accessory, Condensed Power Crystal, Emblem, Secondary Weapon, Pink Bean Cup/Stone of Eternal Life, Deasidus Earrings, and Crystal Ventus Badge.
The Bosses that drop these are, Zakum, Normal/Chaos Horntail, Hilla, Pink Bean, and Magnus. The drop rate isn’t too bad so do these a couple times and you should get everything. These Bosses should be done daily as they give a lot of EXP as well as good equips.
If you’re looking to progress further and the Beginner Gear doesn’t cut it anymore, then check out this Gear Guide for everything you need to know.
What Is Starforce?
If you’ve noticed, Equips have some Stars above them. These Stars give you extra stats per Star and after a certain amount, like 17, you can even get Attack/Magic Attack.Starforcing is insanely important and can give you even more stats than your Potentials.

Enhancing your item is located in your Inventory on the bottom right. When it comes to Starforcing there is a chance of failure and destroying your item. The chance of failure/boom and price raises with each Star. Starforcing can be very frustrating because you can go down in Stars as well. The good thing is, if you hit multiples of 5 you cannot go below it. So if you get to 15 Stars, you cannot decrease to 14 Stars. But the chance of destruction/boom is there and rises with each Star. When it gets to 15 Star and up, it gets into the tens of millions so make sure to farm and save up those Mesos.
The best way to Starforce is save up your Mesos and wait for Events like 30% Discount and 5/10/15 Event. A good way to make gains is to use the 30% Discount Event to get to 15 Stars, and then use the 5/10/15 Event to get to 17 Stars.
The 5/10/15 Event guarantees the next star after 5,10 or 15 so you will have an easier time getting to 17 Stars which is a very good number of Stars to get.
Don’t forget to spread out your Stars throughout all your Equips. It is much better to get 10 or 15 Stars than it is to get one item to 17 or higher. This should be done with Potentials as well. Get to a place where all your Equips have a solid base Main Stat +%, then upgrade the lowest one and keep repeating this process till you get all your Equips to God Tier level. This way you won’t lose a huge amount of Stats and Range when you cube something and it doesn’t go well.
What Are Reward Points?

Reward Points are what MapleStory gives out when you complete a boss, make a NX purchase, complete Exploration, Being in a Guild, or do an Event. Reward Points after clearing a Boss can be found on the left side where the Red Present is.
Reward Points have a daily cap of 3000 and a monthly cap of 30,000, you cannot obtain more than that in a given month. This usually will not matter but certain Events, like Maple Relay, give a lot of Reward Points and you will hit this cap quickly.
What Should You Buy With Reward Points?
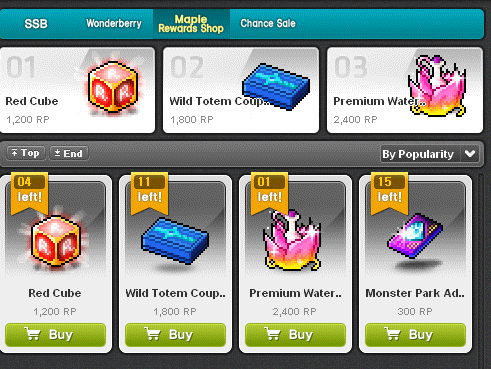
Reward Points are great because they allow you to buy stuff like Red Cubes, Black Cubes, Totems, Monster Park Additional Entry Tickets, and Premium Water of Life. The Maple Reward Shop is found in the Event Tab of the Cash Shop and next to Wonderberry. The best thing to buy from the Maple Reward Shop are the Totems!
MapleStory is all about killing a lot of monsters and the Wild Totem helps you do that because it reduces the monster respawn time on the map by 40% of the normal respawn time, and increases the number of max monster respawn by 50%.
If you don’t need the Wild Totem because you have a Kanna, then the Cubes or Water of Life are a great purchase too. Monster Park Additional Entry Tickets should be bought on Sunday because the Sunday EXP boxes can give you 1.5 or 2x coupons that last 30 mins.